You must compile the Thingy firmware using either GCC or Keil μVision.
For prerequisites related to compiling, see Nordic Thingy:52 GitHub page.
Compiling with Keil
Before starting this procedure, make sure you have Keil installed on your computer.
Follow these steps to compile the Thingy firmware using Keil:
- Navigate to the folder
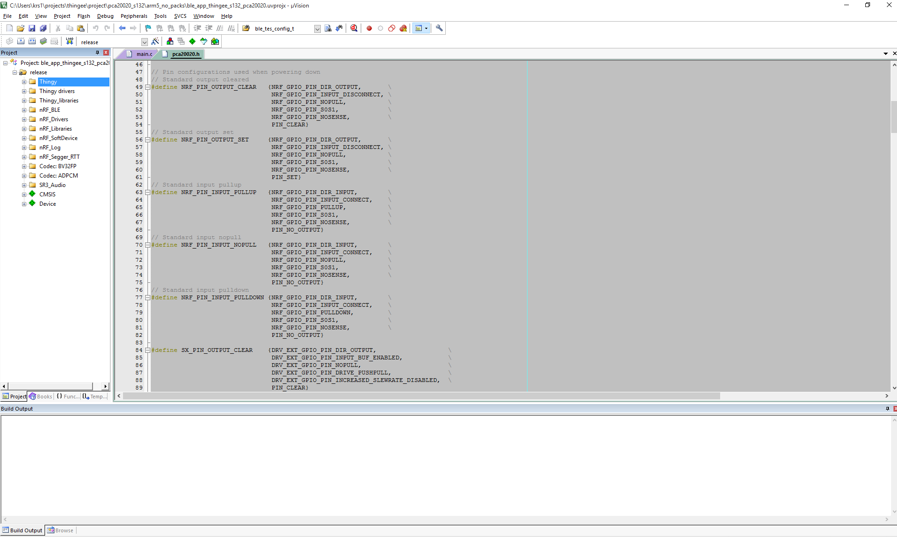
\project\pca20020_s132\arm5_no_packs\ and double-click the project file ble_app_thingy_s132_pca20020.uvprojx. The μVision integrated development environment (IDE) opens.

Keil μVision IDE
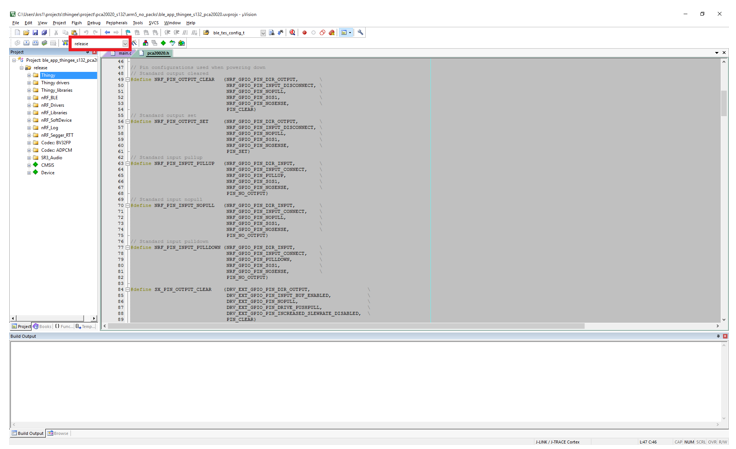
- If you are compiling for the newest Thingy hardware version, select release from the target drop-down menu, as shown in the figure.

Select 'release' from the menu
- Select the appropriate Thingy version from the list. To check the version of your Thingy, you must remove the top rubber cover. The version number can be found on a white label on the PCB. To compile a debug version, select debug.
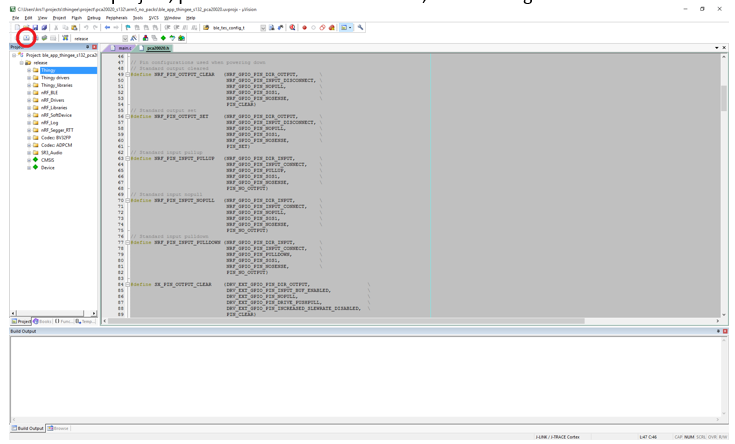
- To build the project, press F7 or click Build. The output will be visible in the Build Output window at the bottom and should finish with "0 Errors, 0 Warnings". If you are compiling for an older Thingy version, you will receive a warning stating the version that you are compiling for.

Building the project
Compiling with GCC
Before starting this procedure, make sure you have the following components installed on your computer:
- GNU toolchain for ARM Cortex-M
- GNU make or CMake
Follow these steps to compile the Thingy firmware using GCC:
- Set up the path in
makefile.windows or makefile.posix, depending on the platform that you are using. The .posix file is used when working on either Linux or OS X.
- Open the makefile in a text editor.
- Make sure that the
GNU_INSTALL_ROOT variable points to your GNU Tools for ARM Embedded Processors directory. For example: GNU_INSTALL_ROOT := $(PROGFILES)/GNU Tools ARM Embedded/4.9 2015q3
GNU_VERSION := 4.9.3
GNU_PREFIX := arm-none-eabi
- Navigate to the folder
project\pca20020_s132\armgcc.
- Run the following command to compile the Thingy application code:


