Customization of the nRF Asset Tracker
This section walks you through the customization of the nRF Asset Tracker for your own product. It shows how to visualize additional sensor data on the Cat Tracker web application.
Through the example, the following changes are made:
Device Simulator UI is modified to generate the heart rate sensor data.
Cat Tracker web application is modified to display the sensor data.
The following video and table show the customization steps and the associated timestamps:
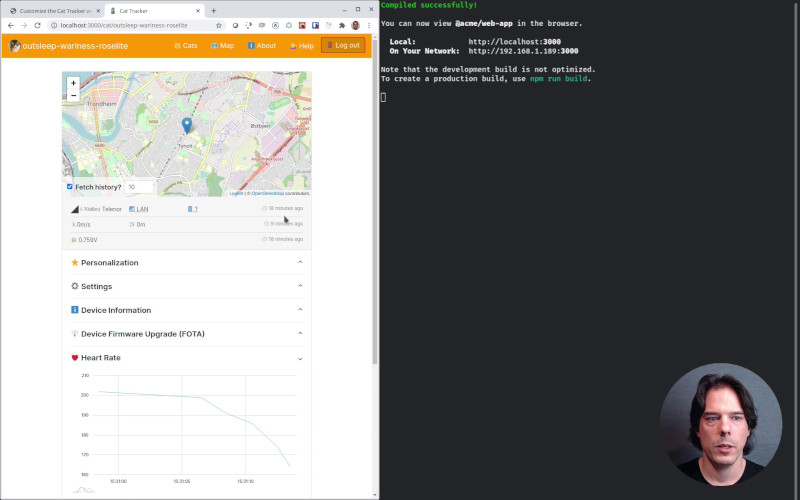
Customizing the nRF Asset Tracker for AWS - Adding a heart rate sensor (video)
Time |
Chapter |
|---|---|
00:06 |
Adding the heart rate measurement functionality to the Cat Tracker |
01:55 |
|
02:25 |
|
03:01 |
|
03:56 |
|
04:36 |
|
05:19 |
|
06:09 |
|
09:46 |
|
11:24 |
|
12:29 |
|
14:01 |
|
14:58 |
|
15:36 |
|
16:52 |
|
19:28 |
|
20:14 |
If you have feedback on improving this Customization guide, share your ideas in DevZone or in the GitHub repository.
Before you start, ensure that you have set up the nRF Asset Tracker for AWS. See the subpages for further steps.