Deploy the Cat Tracker web application
To deploy the Cat Tracker web application to AWS, complete the following steps:
- Clone the project and install the dependencies
- Configure the web application
- Deploy the web application
- Register a new user
Before starting, navigate to the working directory ~/nrf-asset-tracker.
Clone the project and install the dependencies
Clone the Cat Tracker web application project and install the dependencies:
git clone --branch v1.8.x --single-branch \
  https://github.com/NordicSemiconductor/asset-tracker-cloud-app-js.git cat-tracker-web-app
cd cat-tracker-web-app
npm ci
Configure the web application
You need to configure the web application to be able to run it with your account.
The web application requires the IDs of the AWS resources that were created during the setup of the stack.
Run the following command in the cat-tracker-web-app directory to copy the output that contain the IDs to the .env.local file:
cd ../aws
node cli react-config > ../cat-tracker-web-app/.env.local
cd ../cat-tracker-web-app
Version string
Run the following command to provide the version to the application:
echo REACT_APP_VERSION=`git describe --tags $(git rev-list --tags --max-count=1)` >> .env.local
Example for the .env.local file
Following is an example for the contents of the .env.local file:
REACT_APP_REGION=eu-west-1
REACT_APP_HISTORICALDATA_TABLE_INFO=historicalDatadb40B23029-Qzk2Jrr88tOy|historicalDatatableD9D795E1-zdSByjtTqoAE
REACT_APP_USER_IOT_POLICY_ARN=arn:aws:iot:eu-west-1:249963682018:policy/nrf-asset-tracker-userIotPolicy-OMYBF5CI5Q6A
REACT_APP_DFU_BUCKET_NAME=nrf-asset-tracker-dfustoragebucket2cc839ff-qz8k9bslldrf
REACT_APP_JITP_ROLE_ARN=arn:aws:iam::249963682018:role/nrf-asset-tracker-iotJitpRole7B509A5D-5Y6BQY6KD9TX
REACT_APP_THING_GROUP_NAME=assetTrackerThings
REACT_APP_AVATAR_BUCKET_NAME=nrf-asset-tracker-avatarsbucket8221a59f-1usxf1qi1qj1r
REACT_APP_USER_POOL_CLIENT_ID=1rh4eacmu5c5ppq2pspnq8tcu5
REACT_APP_MQTT_ENDPOINT=a3g4yd69u8cu7b-ats.iot.eu-west-1.amazonaws.com
REACT_APP_DEVELOPER_PROVIDER_NAME=developerAuthenticated
REACT_APP_THING_POLICY_ARN=arn:aws:iot:eu-west-1:249963682018:policy/nrf-asset-tracker-thingPolicy-1GR1TP3RXOO0G
REACT_APP_USER_POOL_ID=eu-west-1_FiY6h4xjd
REACT_APP_IDENTITY_POOL_ID=eu-west-1:52cc8188-ec90-47d7-b3ee-634187fa6413
REACT_APP_WEB_APP_DOMAIN_NAME=d250wnpv81c7q9.cloudfront.net
REACT_APP_WEB_APP_BUCKET_NAME=nrf-asset-tracker-webapps-webapphostingbucketc58d3c2b-1or3is1vmmq5q
REACT_APP_CLOUDFRONT_DISTRIBUTION_ID_WEB_APP=EGNO6F61DSJ5Y
REACT_APP_VERSION=v3.6.1
Deploy the web application
To build and deploy the web application to the S3 bucket created while setting up the nRF Asset Tracker in your AWS account, run the following commands:
export $(cat .env.local | xargs)
export EXTEND_ESLINT=true
export PUBLIC_URL="https://$REACT_APP_WEB_APP_DOMAIN_NAME"
npm run build
aws s3 cp build s3://$REACT_APP_WEB_APP_BUCKET_NAME \
  --recursive --metadata-directive REPLACE \
  --cache-control 'public,max-age=600' --expires ''
aws cloudfront create-invalidation --distribution-id \
  $REACT_APP_CLOUDFRONT_DISTRIBUTION_ID_WEB_APP --paths /,/index.html
echo ""
echo "Done. Now open $PUBLIC_URL to view the web app."
After running the commands, you can open the domain name printed in REACT_APP_WEB_APP_DOMAIN_NAME in your browser to view the web application.
Register a new user
Note
The user pool is configured to use the email address as the username.
Since there are no predefined user accounts in the user pool, you need to register a new user. Open the application in the browser.
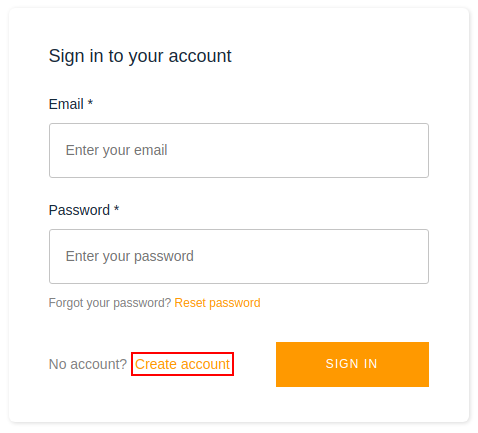
In the login form, Click Create Account and fill in your email and a password. You will receive an email with a confirmation code that you need to enter to confirm your email address. Once you have confirmed your email address, you can login with your email address and your password.
View your device
After logging in, your device that was provisioned previously shows up in the list of cats.